The Ultimate Guide to Popcorn Ceiling Removal: A DIY Journey
A DIY Journey Mastering Popcorn Ceiling Removal
In the quest to modernize and refresh our living spaces, popcorn ceiling removal has emerged as a pivotal step for homeowners aiming to ditch the outdated look for something sleeker and more contemporary. This textured ceiling type, popular in the mid-20th century for its acoustic benefits and ability to hide imperfections, has fallen out of favour due to its dated appearance and the challenges it presents in cleaning and maintenance. Moreover, the potential presence of asbestos in older installations adds a health risk factor that cannot be ignored. This comprehensive guide will walk you through the ins and outs of popcorn ceiling removal, ensuring you're well-equipped to either take on this project yourself or find the best popcorn ceiling removal company near me to handle the job.

Understanding the Process and Precautions
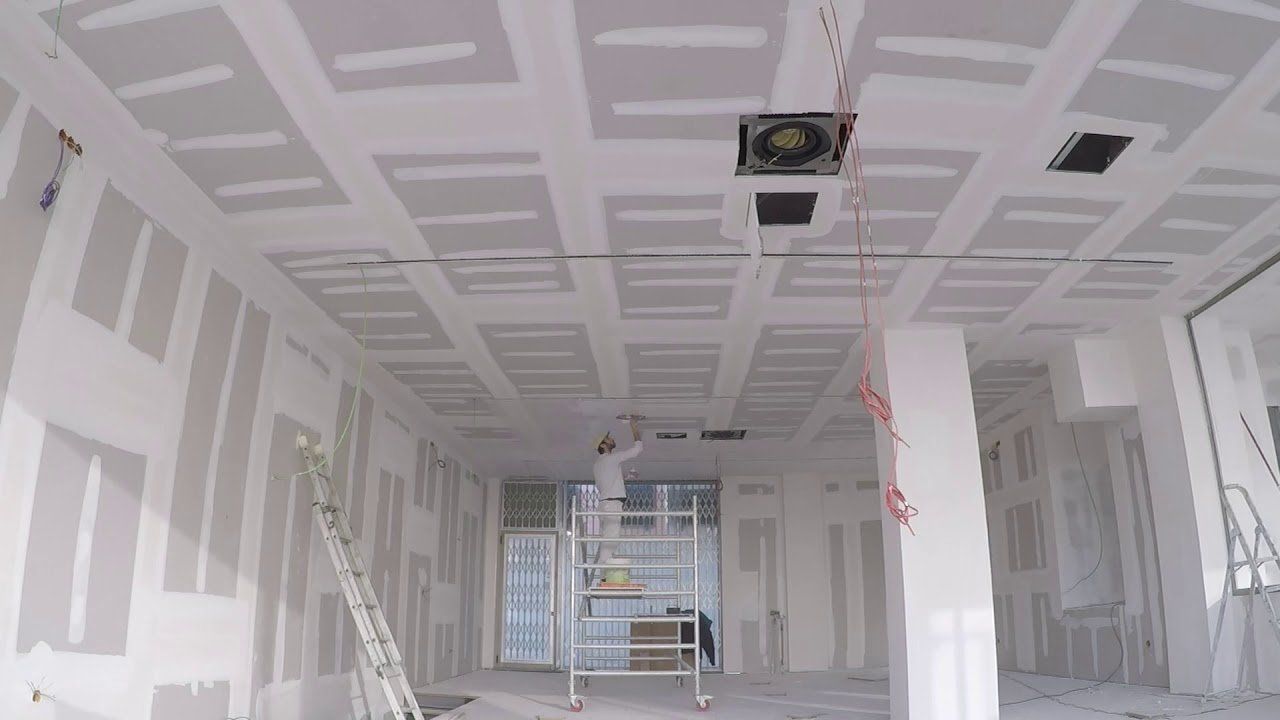
The journey to remove a popcorn ceiling begins with understanding the process and the necessary precautions. It's not just about scraping off the texture; it's a meticulous process that involves preparation, removal, cleanup, and refinishing. The first step is to test for asbestos, especially if your home was built before the 1980s. Professional testing is recommended, and if asbestos is present, hiring a qualified popcorn ceiling removal contractors near me is non-negotiable due to the health risks involved in asbestos removal. Beyond asbestos, it's essential to prepare for potential surprises beneath the texture, such as uneven surfaces or hidden damage. The right tools, such as a high-quality scraper and protective gear, are paramount to avoid damage to the underlying drywall and ensure personal safety. This preparation phase also includes setting up a containment area to prevent the spread of dust and debris throughout your home, highlighting the importance of thoroughness in every step of the process.
DIY Popcorn Ceiling Removal: Step-by-Step
For those clear of asbestos and feeling handy, DIY popcorn ceiling removal can be a rewarding project. Here's a basic outline of the steps involved:
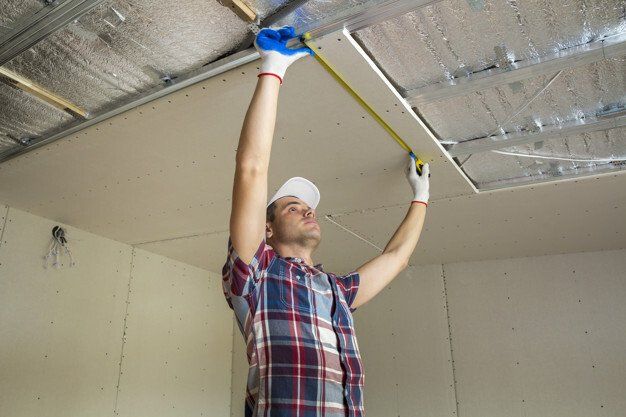
Preparation: Empty the room, cover floors and walls with plastic sheeting, and wear protective gear.
Wetting the Ceiling: Lightly spray water on the ceiling to soften the popcorn texture, making it easier to scrape off. Be careful not to soak it, as this could damage the drywall beneath.
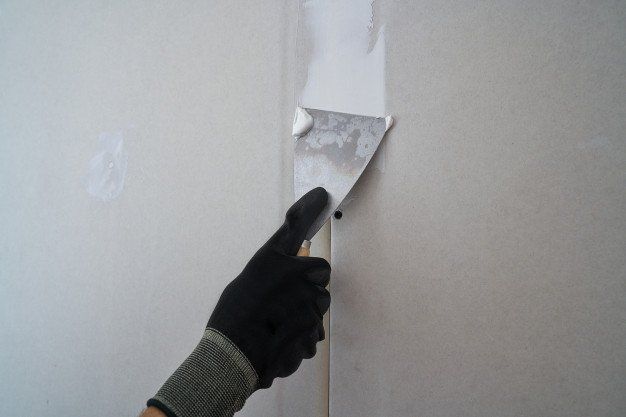
Scraping: Using a wide scraper, gently remove the popcorn texture. Work in small sections to manage the mess.
Smoothing and Repairing: Once all the texture is removed, sand the ceiling to smooth out any imperfections. Patch any holes or cracks with drywall compound.
Priming and Painting: Apply a coat of primer suited for drywall popcorn ceiling removal projects, followed by your choice of ceiling paint.
Finding the Right Popcorn Ceiling Removal Company
Not everyone has the time, tools, or tolerance for the mess that comes with DIY popcorn ceiling removal. That's where popcorn ceiling removal companies near me come into play. Finding the right service provider is crucial for ensuring a clean, efficient, and safe removal process. Here are a few tips:
Research: Look for popcorn ceiling removal contractors near me with good reviews and a solid portfolio of completed projects.
Quotes: Get multiple quotes to compare prices, but remember, the cheapest option isn't always the best.
Licenses and Insurance: Ensure the popcorn ceiling removal company you choose is licensed and insured to protect yourself against any accidents or damage.
Why Remove Popcorn Ceilings?
The reasons for removing popcorn ceilings extend beyond aesthetics. These ceilings can harbor dust, spider webs, and even mold, contributing to poor indoor air quality. Additionally, updating your ceiling can increase your home's value and appeal should you decide to sell in the future. From a health perspective, the textured surface of popcorn ceilings can trap allergens, affecting the well-being of residents, especially those with asthma or allergies. The removal process, while tedious, offers a chance to inspect and repair any hidden issues, such as water damage or structural weaknesses, thereby improving the overall integrity of your living space. Embracing a smoother ceiling not only modernizes your home but also aligns with contemporary design preferences, making your space feel larger, brighter, and more inviting.
After Removal: The Finishing Touch
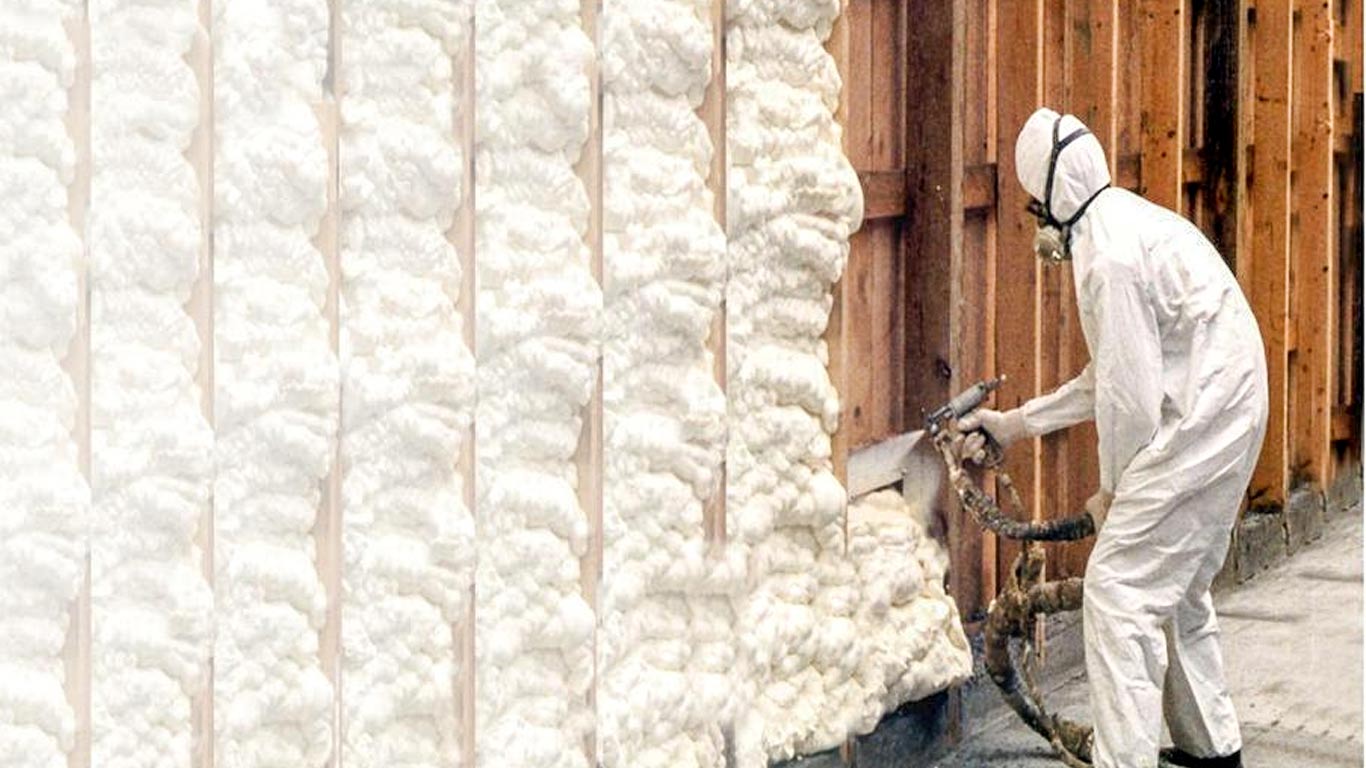
Once the popcorn texture is removed, you have a blank canvas to create a ceiling that complements your home's design. Whether you opt for a smooth finish, a subtle texture, or decorative tiles, the new look will undoubtedly be a significant upgrade from the old popcorn ceiling. This stage is an opportunity to enhance your home's aesthetic and functional appeal, possibly incorporating modern lighting solutions or soundproofing materials for added comfort and ambiance. The choices are endless, from painting with bold, refreshing colors to installing architectural elements that reflect your personal style and enhance the room's overall atmosphere. The transformation not only elevates the visual appeal of your home but also contributes to a more cohesive and thoughtfully designed interior. The finishing touches post-popcorn ceiling removal are crucial in achieving the desired outcome, ensuring that the effort put into the removal process yields a result that is both beautiful and beneficial to your home's environment.
Popcorn ceiling removal may seem daunting, but it's a transformative project that can significantly impact your home's look and feel. Whether you decide to tackle it as a DIY project or hire a professional popcorn ceiling removal company near me, the key is to approach the task with preparation, caution, and the right tools or team. By following this guide, you're on your way to a smoother, more modern ceiling that will brighten and update your living space.
For more insights on home improvement projects or to explore our services, check out our blogs, or dive into our services page for comprehensive solutions tailored to your needs.