How to Deal with Popcorn Ceiling Repair: Tips and Tricks
Blast Away That Popcorn Ceiling with My Genius Tips
Frustration homeowners experience when faced with the daunting task of popcorn ceiling repair. The lumpy texture might have been all the rage decades ago, but now it simply looks outdated and can be a major eyesore. However, fear not! With the right tips and tricks up your sleeve, you can easily tackle this project and transform your space into a modern and sleek haven.
In this blog post, I will guide you through the step-by-step process of dealing with popcorn ceiling repair, providing you with expert advice and innovative techniques to achieve remarkable results. Say goodbye to those unsightly bumps and hello to a refreshing new look for your home. Let's get started!
Assessing the Damage
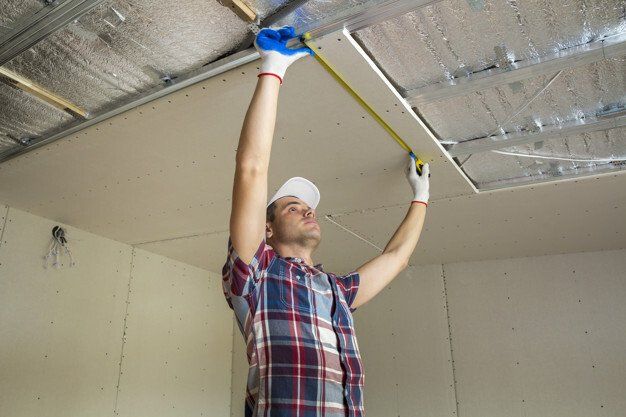
Assessing the damage when it comes to popcorn ceiling repair. One of the first steps in dealing with any repair job is to thoroughly inspect the area and determine the extent of the damage. This can be done by carefully examining the popcorn texture and looking for signs of cracking, peeling, or water stains.
It is also crucial to check for any underlying issues, such as leaks or structural damage, that may have caused the damage to the ceiling. By assessing the damage thoroughly, you can create a more accurate plan for repair and ensure that any underlying issues are addressed to prevent future damage.
Preparing for the Repair
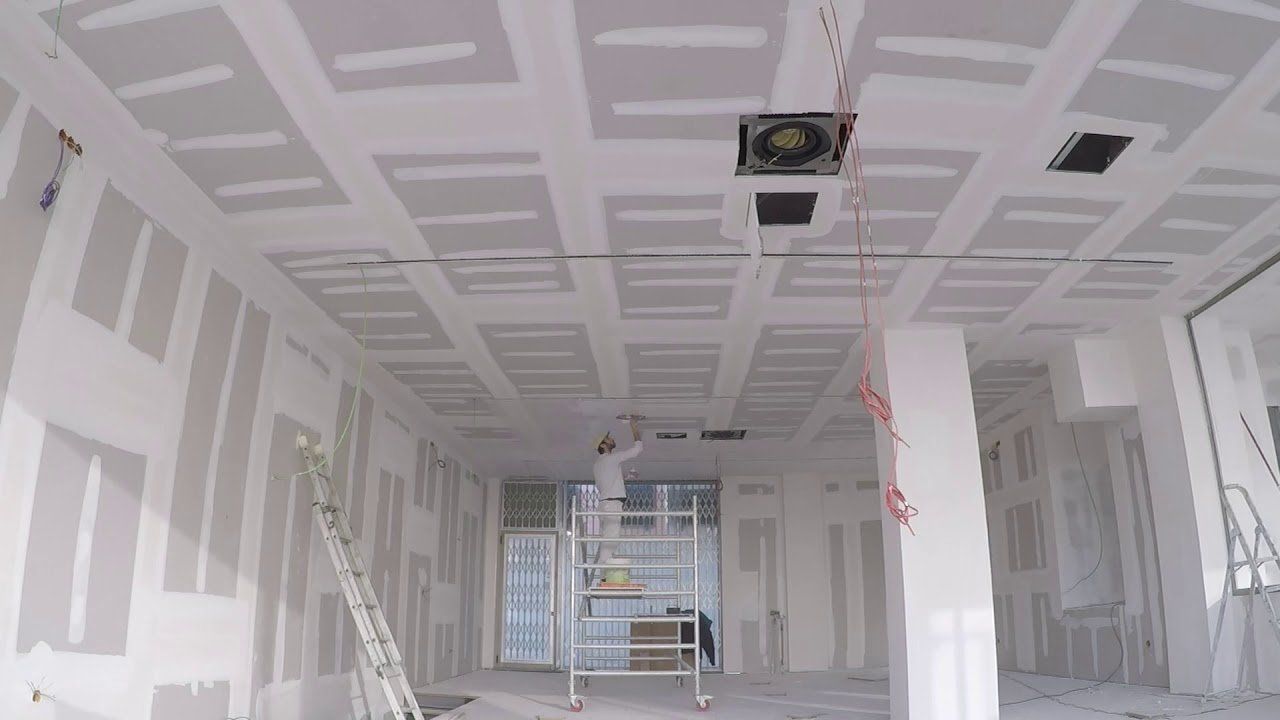
There are several tips and tricks that can make the process much smoother and less daunting. First and foremost, it is important to adequately prepare the space before starting any repair work. This includes removing furniture and covering the floor and remaining surfaces with protective sheets or plastic. By doing so, you can prevent any unnecessary damage or mess and ensure a clean and safe working environment.
It is crucial to gather all the necessary tools and materials beforehand, such as a putty knife, sandpaper, joint compound, and primer. Being fully prepared will not only save you time but also enable a more efficient and effective repair process. Remember, proper preparation is key to achieving a successful popcorn ceiling repair and ultimately transforming your living space into a more modern and appealing environment.
Removing Popcorn Texture
One of the most common approaches to rectifying this issue is removing the popcorn texture altogether. To start the process, it is essential to ensure the room is well ventilated and all furniture and belongings are covered as the removal process can be messy. Begin by spraying a small section of the ceiling with water using a garden sprayer or a spray bottle.
This moisture will help break down the texture and make it easier to scrape off. After letting the water soak in for a few minutes, use a wide putty knife or a specialized popcorn ceiling scraper to gently scrape off the texture. Be cautious not to apply excessive pressure as this can damage the underlying drywall. Repeat the process in small sections until the entire ceiling has been scraped smooth.
Once the popcorn texture is removed, it is important to thoroughly clean the ceiling surface before considering any additional repairs or repaints. Removing popcorn texture requires patience and attention to detail, but with the right tools and techniques, achieving a smooth ceiling is well within reach.
Repairing Damaged Areas
When it comes to repairing these damaged spots on a popcorn ceiling, there are a few tips and tricks that I always keep in mind. First and foremost, it is crucial to assess the extent of the damage before moving forward. This helps determine whether a simple patch job will suffice or if a more extensive repair is required.
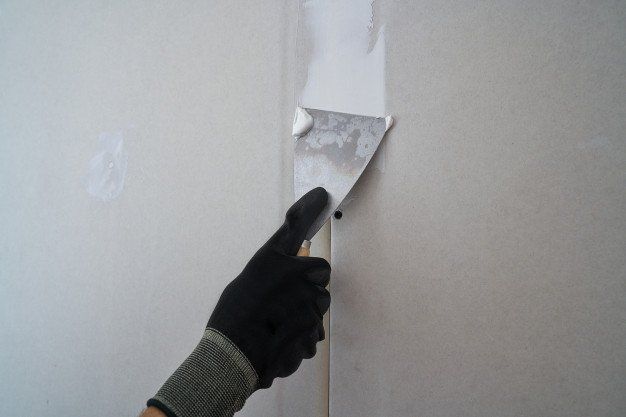
Once the damage has been assessed, it is important to prepare the area by covering the floor and furniture with drop cloths to avoid any potential mess or damage. Next, I carefully remove any loose or damaged texture by gently scraping it off with a putty knife. Afterward, I apply a layer of joint compound to smooth out the damaged area, sanding it down once it is dry for a seamless finish.
Lastly, I match the texture of the surrounding area by using a specialized popcorn ceiling texture spray, ensuring that the repaired spot seamlessly blends in with the rest of the ceiling. By following these steps, I have consistently achieved successful popcorn ceiling repairs, leaving my clients satisfied with the results.
Matching the Texture
Matching the texture of the repaired area with the rest of the ceiling is crucial in achieving a flawless finish. To begin with, it is essential to analyze the type of texture used on the existing ceiling. Different techniques like stomp, swirl, or knockdown create various textures, and understanding the specific one is essential for an accurate match.
Once identified, I employ a range of techniques and tools to recreate the texture. One common method is using a spray gun with a compressor, which allows for precise control and an even distribution of the texture mixture. Another option is the use of a texture brush or roller to mimic the patterns and achieve a similar look.
However, achieving a perfect match can be a daunting task, especially when dealing with older popcorn ceilings that may have faded or changed over time. In such cases, I often recommend blending techniques, where I gradually transition the new texture into the surrounding area, minimizing any noticeable differences. With patience and a keen eye for detail, matching the texture seamlessly is achievable, leaving the repaired area virtually indistinguishable from the rest of the ceiling.
Applying Primer and Paint
Before starting the process, it is essential to clean the ceiling thoroughly to remove any dust or debris. Once the surface is clean and dry, apply a high-quality primer specifically designed for popcorn ceilings. This will help the paint adhere better and prevent it from soaking into the textured surface.
I recommend using a roller with a thick nap to ensure even coverage of the primer. After allowing the primer to dry, it is time to apply the paint. Opt for a latex-based paint, as it is more flexible and less likely to crack over time. Use a roller with a medium nap to apply the paint in smooth and controlled strokes.
Start from one corner and work your way across the ceiling, ensuring that each section is evenly coated. Remember to follow the manufacturer's instructions regarding drying time and number of coats required. With these tips and tricks, you can confidently tackle popcorn ceiling repair and achieve professional-looking results.
Final Touches and Clean-Up
One of the first steps in this phase is to inspect the repaired area thoroughly for any imperfections or rough patches. I carefully run my hand across the ceiling, feeling for any irregularities. If I detect any, I use a fine-grit sandpaper or sanding block to smooth out the area until it blends seamlessly with the surrounding texture. This meticulous attention to detail ensures a finished look that will satisfy even the most discerning eye.
Once all the repairs are complete, it is crucial to clean up the work area thoroughly. Popcorn ceiling repair can be a messy process, with dust and debris often scattered around. I start by carefully removing any plastic sheets or drop cloths used to protect furniture and floors. Then, I use a vacuum cleaner with a brush attachment to gently remove any loose texture or dust from the repaired area and its surroundings.
To eradicate lingering dust particles, I wipe down the ceiling and walls with a damp cloth, being careful not to damage the freshly repaired texture. This final cleaning step not only enhances the visual appeal of the repaired ceiling but also helps maintain a clean and conducive environment for the occupants of the space. Overall, paying attention to the final touches and clean-up is essential in achieving a successful popcorn ceiling repair project.
Maintenance and Future Prevention
One of the most important tips I can offer is to regularly inspect your popcorn ceiling for any signs of damage or wear. Look out for cracks, water stains, or areas where the texture is starting to chip off. By catching these issues early on, you can prevent further damage and avoid costly repairs down the line.
Additionally, it is crucial to address any water leaks or moisture problems in your home promptly, as excessive moisture can weaken the popcorn texture and lead to serious issues. Consider installing proper ventilation or dehumidifiers to maintain a dry environment, especially in areas prone to high humidity levels. Taking these proactive measures will help extend the lifespan of your popcorn ceiling and minimize the need for frequent repairs
Conclusion
In conclusion, popcorn ceilings can be a common issue in many homes, but they shouldn't be ignored. Addressing popcorn ceiling repairs is important not only for maintaining the aesthetic appeal of your home, but also for preventing further damage and potential health risks. By assessing the damage, preparing for the repair, removing popcorn texture, and repairing damaged areas, you can achieve a smooth and beautiful ceiling once again.
Don't be afraid to tackle the repair process confidently! Remember to match the texture, apply primer and paint, and take care of any final touches and clean-up. Maintenance and future prevention are also crucial to keep your ceilings looking their best. So why wait? Contact us today for a free quote and let us help you transform your popcorn ceilings into a thing of beauty.