Don’t Panic! Simple Steps to Fix a Wall Hole at Home
DIY Mastery: Quick and Cost-Effective Methods for Seamless Wall Repair
Accidents happen, and so do holes in the walls. Whether it’s a mishap during a move, an adventurous toddler, or just the wear and tear of life, finding a hole in the wall can be unsettling. But don’t panic! Repairing a hole in the wall is a manageable DIY project that anyone can undertake with the right tools and techniques. This guide will walk you through the simple steps to effectively handle a "hole in the wall", ensuring a smooth and stress-free repair process.
Understanding the Basics of Wall Repair
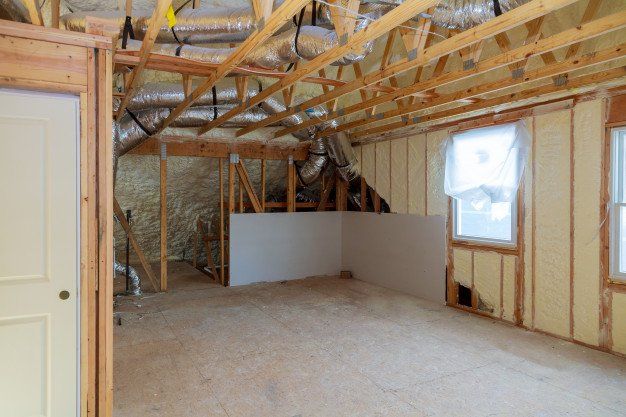
Before diving into the repair process, it’s important to understand the types of damage your walls might face. A "hole in the wall drywall" is common and typically easier to fix than those in more solid materials like brick or concrete. Knowing the type of wall and the extent of the damage helps in choosing the right "hole in the wall fix kit".
Assessing the Damage
Start by assessing the size and location of the hole. This will determine the materials and tools you’ll need. A "patch a small hole in the wall" requires less material compared to larger holes.
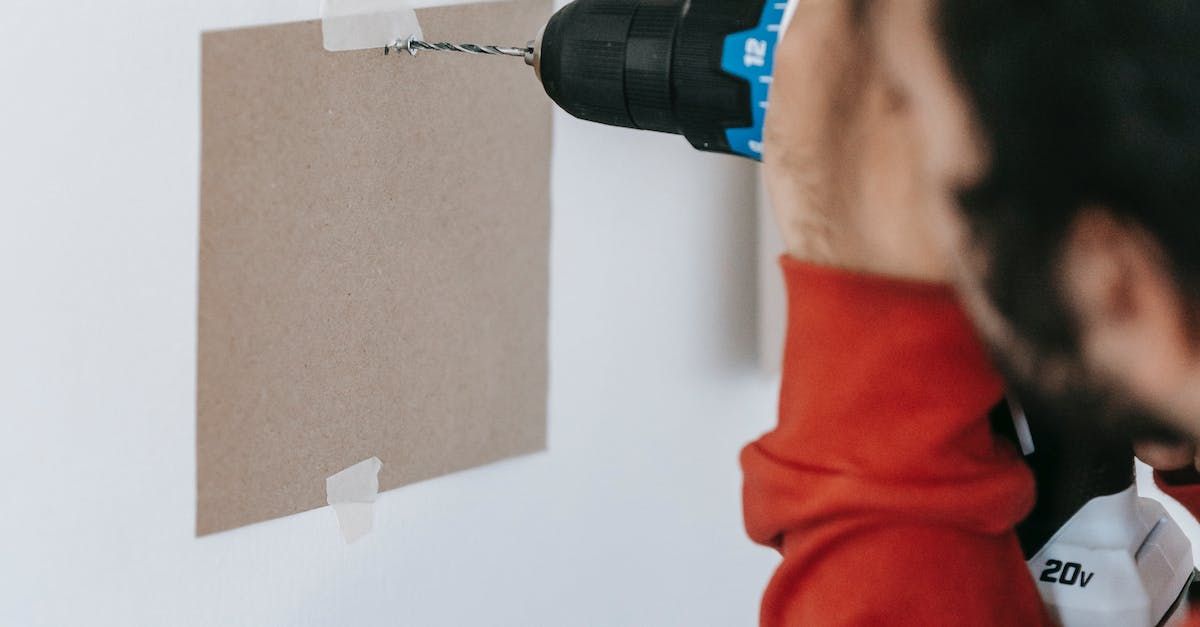
Tools and Materials Needed
Gather your tools and materials:
- Drywall patch or a piece of drywall
- Putty knife
- Sandpaper
- Paint and brush
- Drywall compound
- "hole in the wall fix kit" (optional, for specific kits designed for wall repair)
Step-by-Step Guide to Fixing a Hole in the Wall
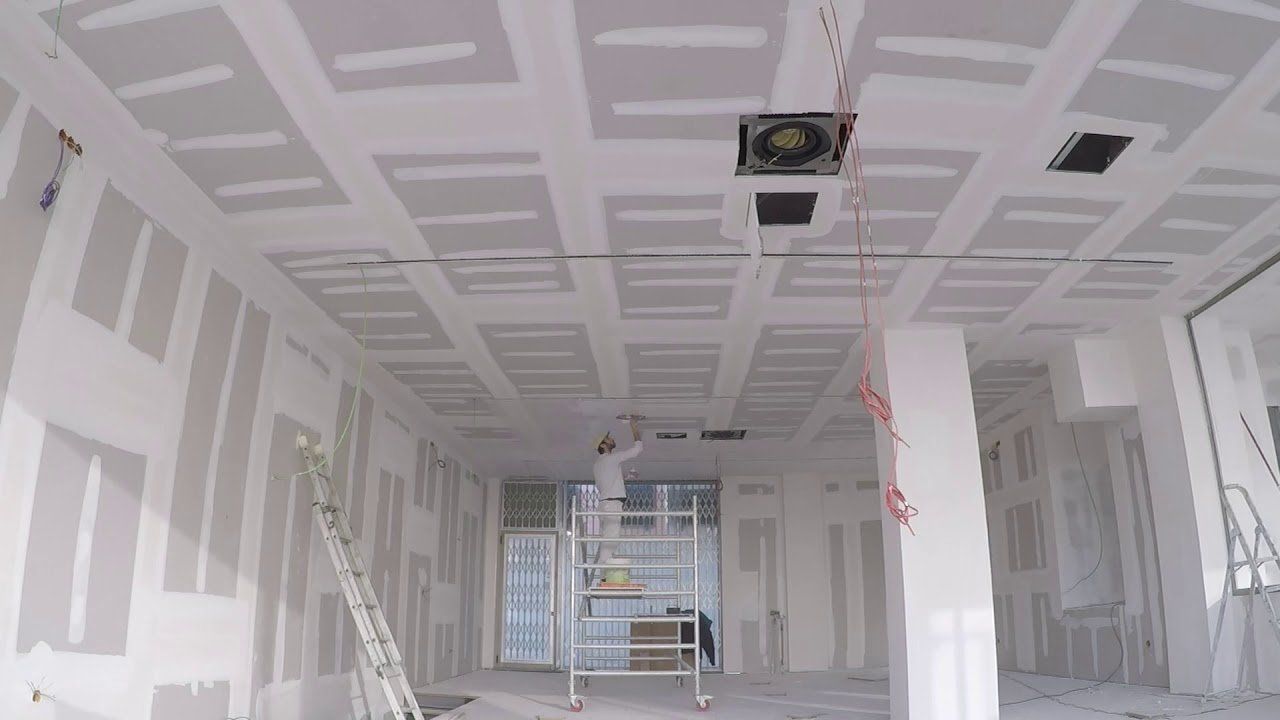
1. Prepare the Area: Clear the area around the hole of any debris and dust. If the edges of the hole are jagged, use a utility knife to trim them to create a smooth surface that will make the repair easier.
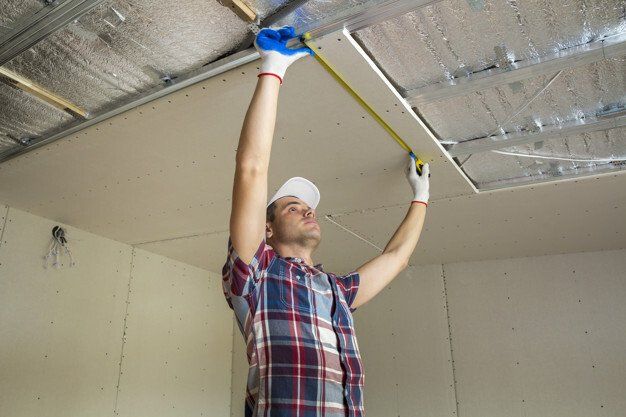
2. Choose Your Patching Method: For small holes, adhesive patches or a simple application of drywall compound can work well. For medium holes, you may need to use a drywall patch that fits into the hole.
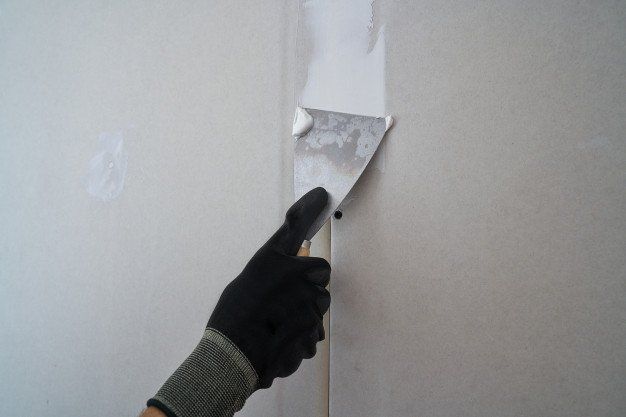
3. Apply the Patch: If using a drywall patch, place it over the hole and secure it with drywall compound. Ensure it’s evenly applied and flush with the surrounding wall surface.
4. Sand and Smooth:
Once the patch is dry, sand it down to ensure the surface is smooth and level with the rest of the wall. This might be the "easiest way to fix a hole in the wall" since it minimizes the need for extensive surface preparation.
5. Paint Over the Patch:
Match the paint to your wall color and apply it over the patched area. This might require multiple coats to ensure the patch is undetectable.
Additional Tips for a Seamless Repair
Choosing the Right Compound: For the "easy way to fix a hole in the wall", use a lightweight drywall compound for easier sanding.
Patching Larger Holes: For holes larger than a few inches across, you will need to use a more robust support, like a piece of drywall secured with screws, covered with tape and compound.
Finishing Touches: Ensure the light is adequate when painting over the patch to notice any inconsistencies in surface level or texture.
Understanding the Costs
While a DIY approach is typically cost-effective, knowing the "hole in the wall repair cost" if opting for professional "hole in the wall repair services" can help in decision-making. Costs can vary widely depending on the size of the hole and the complexity of the repair.
Advanced Techniques for Larger and More Complex Holes
When dealing with more substantial wall damage, such as large holes or those that involve corners or near electrical outlets, additional steps and precautions are necessary:
1. Support the Patch: For large holes, simply using a patch might not suffice. Instead, cut a piece of drywall that fits the hole exactly and secure it with drywall screws to the surrounding studs or a newly installed support frame. This method ensures that the patch holds securely and blends seamlessly with the original wall.
2. Tape the Seams: After securing the patch, use drywall tape to cover all seams. This step prevents cracking and helps the patch blend more effectively with the surrounding wall. Apply a layer of drywall compound over the tape and let it dry completely before proceeding.
3. Feather the Edges:
When applying compound around the patch, feather the edges by extending the compound a few inches beyond the patch edge and gradually thinning it out. This technique helps in creating a surface that appears uniform with no visible bumps or ridges.
4. Prime Before Painting: To avoid a patchy appearance, apply a primer over the patched area before painting. Priming ensures that the paint adheres well and provides a consistent color across the entire wall.
Dealing with Textured Walls
If your walls are textured, matching the texture after patching the hole can be challenging. Here are a couple of tips to consider:
Use a Texture Spray: There are various aerosol sprays available that can mimic common wall textures like orange peel or popcorn. After the compound has dried and been sanded, apply the texture spray over the patched area to blend it with the surrounding wall.
DIY Textures: For more unique textures, you may need to replicate the pattern manually. This can be done using sponges, brushes, or even crumpled paper while the compound is still wet.
Long-Term Durability and Maintenance
To ensure the repair holds up over time, consider the following:
Choose High-Quality Materials:
Opt for high-grade drywall compound and paint to ensure the repair withstands the test of time and environmental factors like humidity and temperature changes.
Regular Inspection: Especially in the case of larger repairs, keep an eye on the area for any signs of cracking or detachment from the original wall. Early detection can help you address potential issues before they worsen.
Recap: Tools, Steps, and Tips
Here's a quick recap of what you need and what to do:
Tools:
- Drywall saw or utility knife
- Screwdriver or drill
- Sandpaper or sanding block
- Paintbrush or roller
Steps:
- Prepare the area and clean up edges
- Insert support and secure the new drywall piece if needed
- Tape and apply compound
- Sand and texture
- Prime and paint
Tips:
- Always wear safety gear, like masks and goggles, during sanding.
- Take your time to dry each layer thoroughly to prevent future issues.
By integrating these advanced techniques and tips into your wall repair project, you ensure a durable and visually appealing finish. Whether you're dealing with a "hole in the wall" or more extensive damage, these methods empower you to tackle the task with confidence and achieve
professional-grade results.